
Welcome to the wonderful world of sourdough baking, friend! There’s something magical about transforming a few simple pantry staples like flour, water, and salt into a delicious, crusty loaf of bread. But while sourdough’s simplicity is part of its charm, having the right tools can make your baking experience much smoother and more enjoyable. In this post, I’ll walk you through the essential sourdough supplies you’ll need so you can set yourself up for success in your bread making journey!
I have listed below what are, in my opinion, the essential sourdough supplies needed for making your own bread at home. But, instead of buying everything individually, you can find kits that include most of these items together if you’re interested. There are many options on Amazon, and I’ve personally bought this one, which I highly recommend.

The kit includes two banneton proofing baskets (one round and one oval), two silicone baking slings and a silicone baking mat, a bread lame with extra blades, a bristle brush for cleaning the banneton baskets, a dough whisk, and two bench scrapers (one metal and one plastic).
Essential Sourdough Supplies

An Active and Bubbly Sourdough Starter – to make your homemade sourdough bread.
You can buy an active starter, a dried starter that will need to be rehydrated, or you can make one yourself.
I have a super easy-to-follow recipe for a sourdough starter that only takes a week to get going! But, keep in mind that sourdough starters will mature over time and produce more consistently good sourdough loaves as they age. So please, don’t get discouraged if your first loaves don’t turn out as well as you hoped. That’s okay! They will get better the more you bake and the more you learn. It can be a process, but I assure you that it’s worth it.
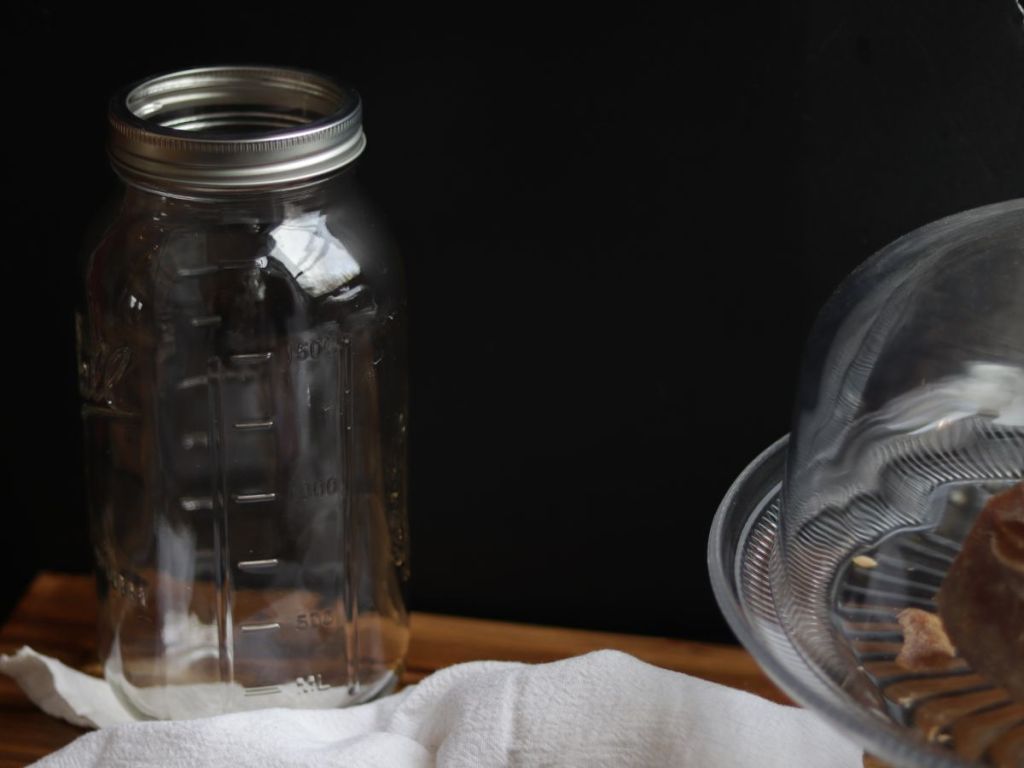
Glass Jar with lid – to store your sourdough starter.
You can use any glass jar, but I recommend choosing a jar with a wide mouth so that it’s easier to stir your starter. This also allows the sourdough starter enough room to rise and not overflow your jar resulting in a big mess!
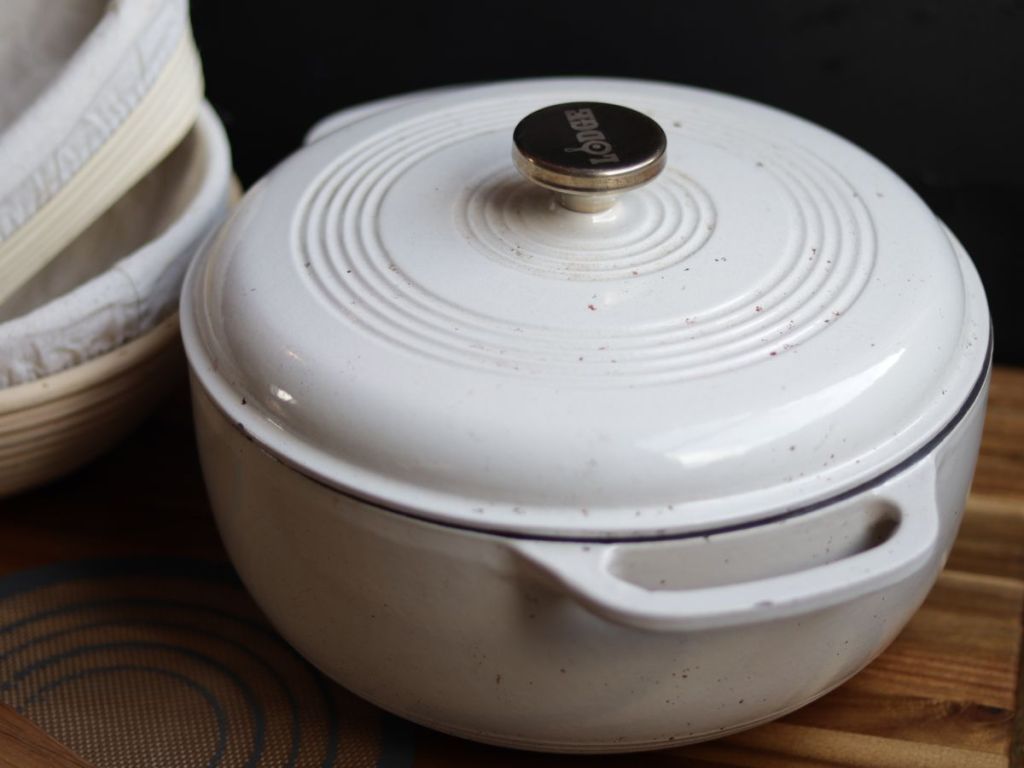
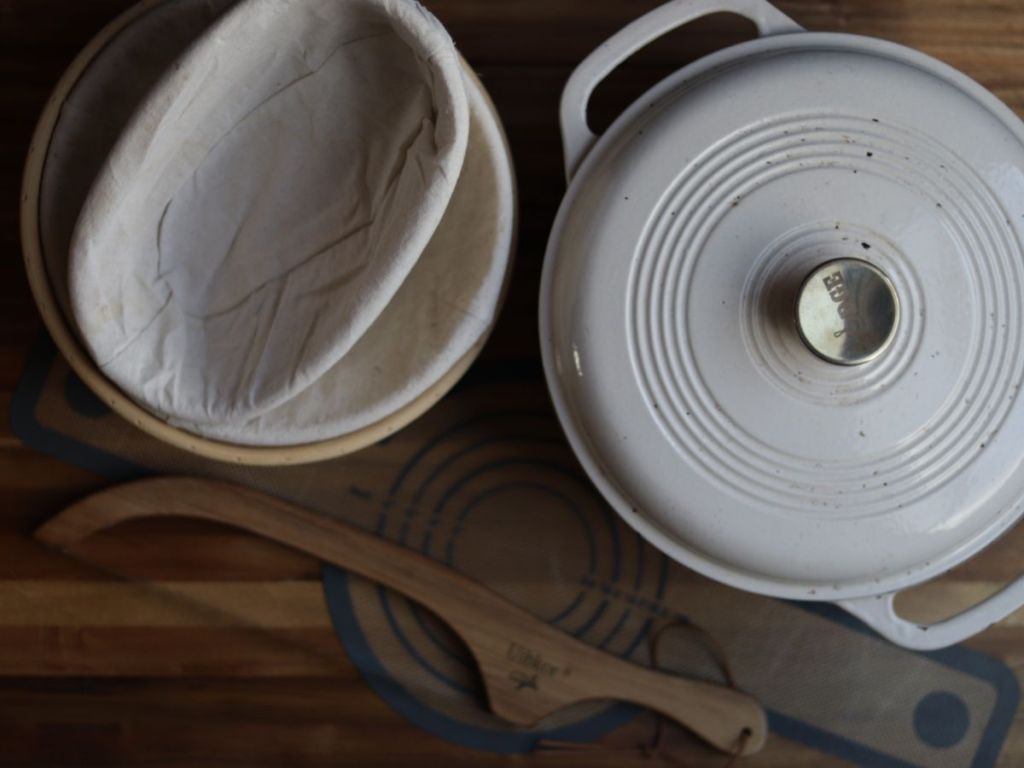
Dutch Oven – to bake your bread in.
I love my Lodge cast-iron Dutch oven and can’t recommend anything else because it’s all I’ve ever used! But, there are many options out there! You just want to make sure that whichever brand you choose, if it has any coating, that it is enamel. And beware of cheaper alternative options! Always read the reviews!

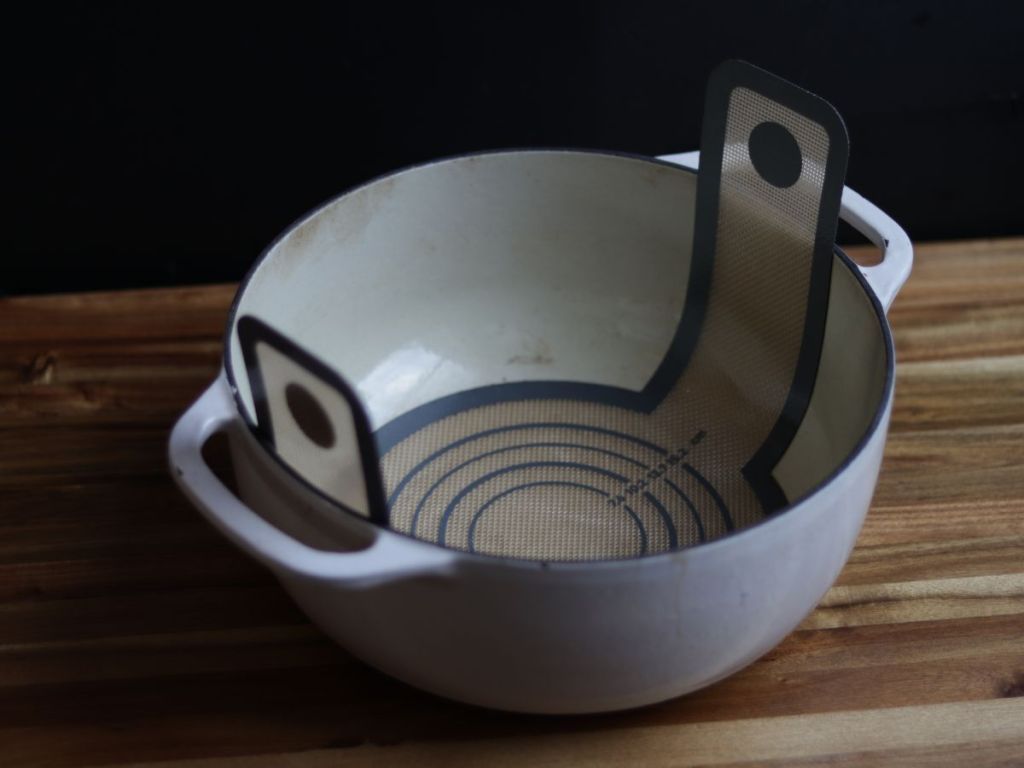
Proofing Basket – for proofing your dough overnight in the fridge.
You can buy round or oval-shaped proofing baskets in many different sizes. Just make sure that your proofing basket isn’t a larger diameter than your Dutch oven or bread pan.
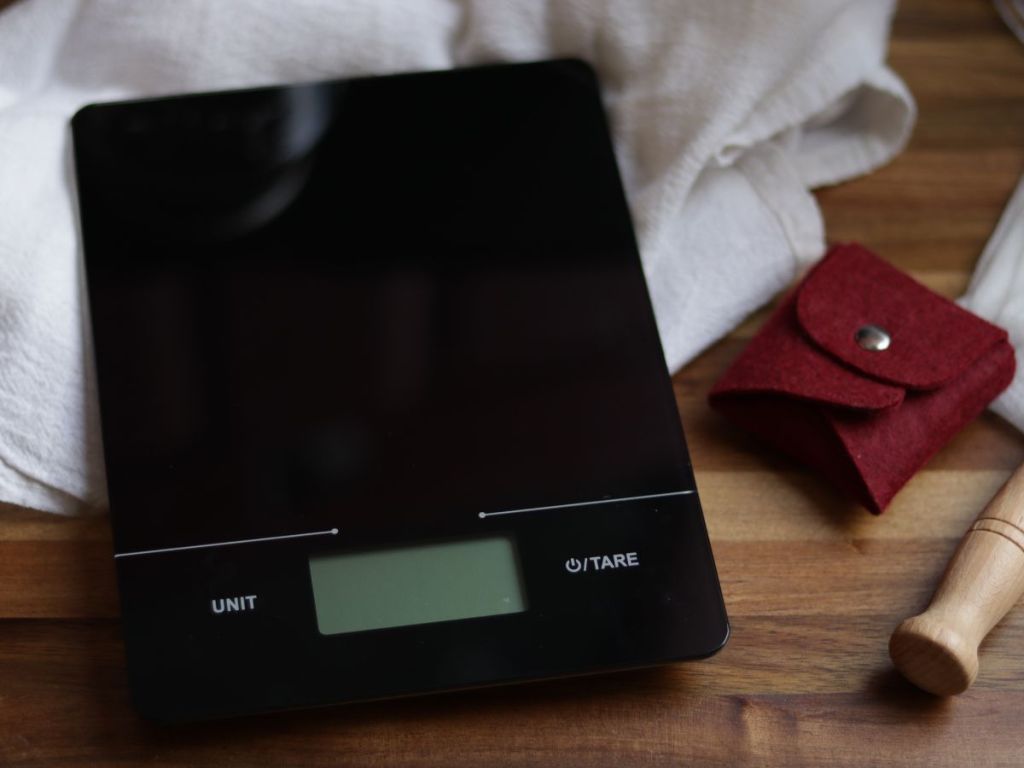
Kitchen Scale – to weigh your ingredients.
No need for a fancy scale! Just something that you can rely on to measure your ingredients will do! I got mine from Walmart for a great price and it’s worked for years!
Silicone Baking Sling – for inserting and removing your loaf from your dutch oven.
These slings are so easy to use and they help to keep your bottom crust from burning. No need for misting, using ice or rice in the bottom of your Dutch oven. The silicone sling will be your new best friend!
Plus, there’s no waste like you would have when using parchment paper. The silicone slings can handle the high temperature needed to bake Sourdough bread. Whereas, most parchment paper isn’t recommended in temperatures of 425℉ or above.

Tea Towel – to cover your dough during its bulk ferment and proofing process.
I recommend anything cotton, linen, or a blend of both. This is used to cover your bread while it’s bulk fermenting and can be used during overnight proofing in the fridge. I like to keep it damp, so it doesn’t stick to the dough at all.
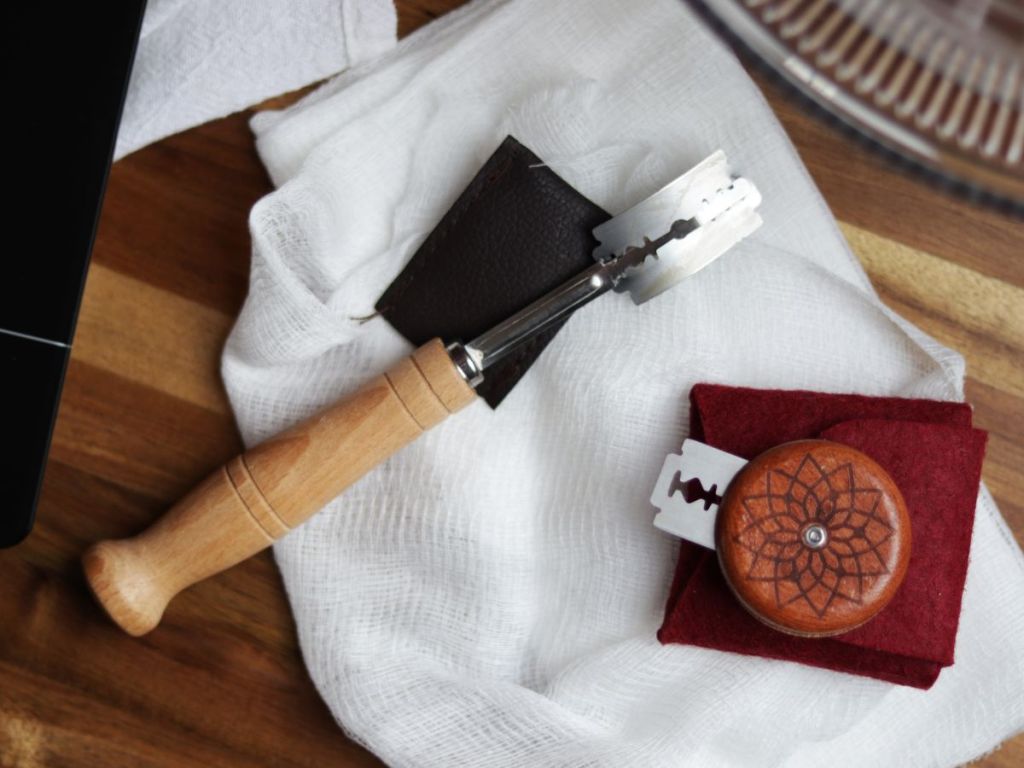
Bread Lame / Dough Scoring Tool – for scoring those beautiful patterns into your dough!
As pictured, I have two different bread lames. A larger one, (like this one) and this smaller one. Both options work really well and come with extra blades, so you won’t be running out of them any time soon.
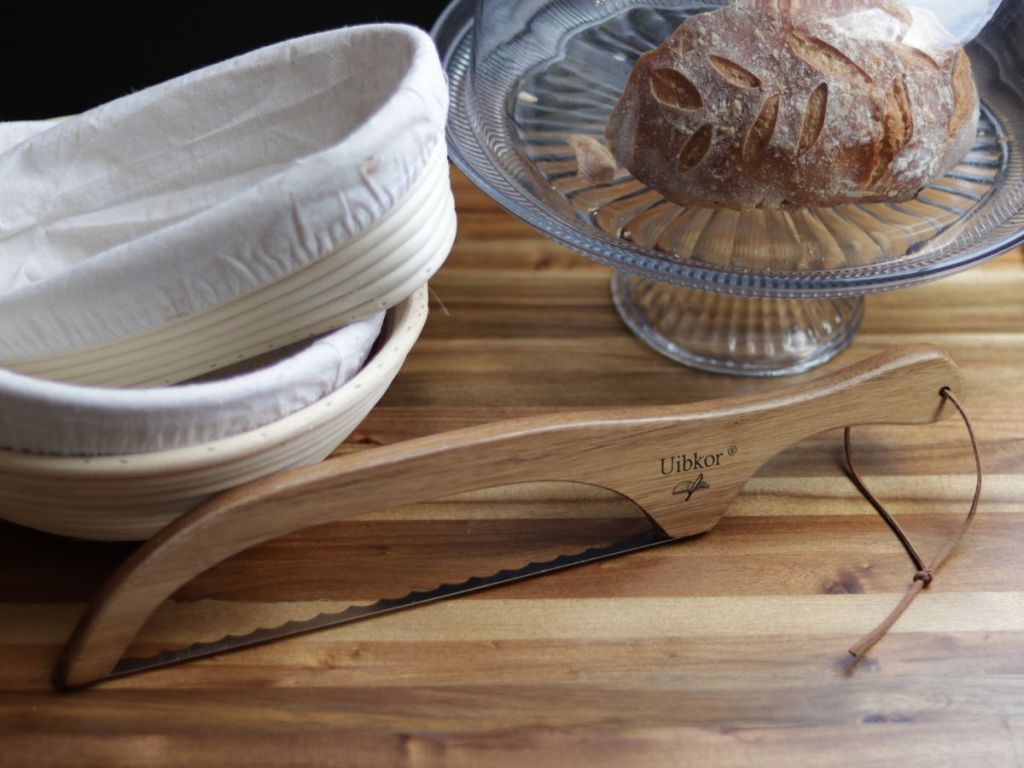
Sharp Bread Knife – for cutting through that traditional crackly sourdough crust we love!
The bread knife pictured and linked above is one I bought off Amazon, and hands down, it’s the best bread knife I have. It cuts through a hard sourdough crust like a hot knife through butter, and it doesn’t cost an arm and a leg. I highly recommend getting one!
Optional Supplies to Consider Having To Make Sourdough
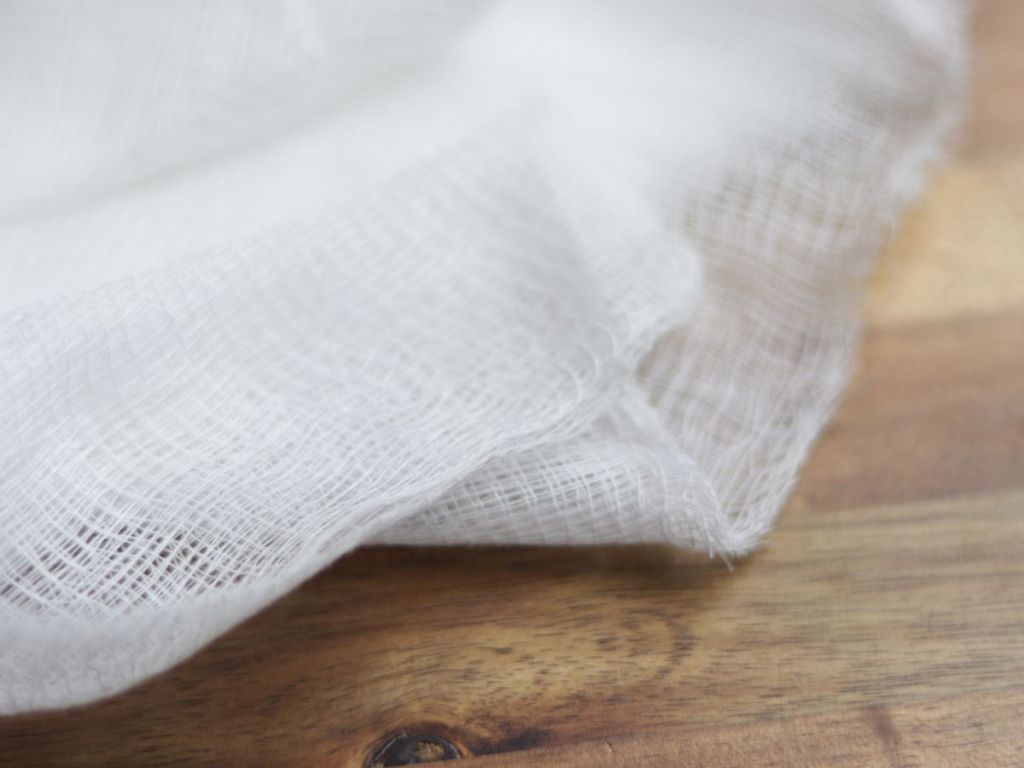
Cheesecloth – to cover your jar of sourdough starter.
I prefer to use cheesecloth to cover my sourdough starter jar because it provides a sufficient cover while also allowing airflow and natural yeast from the environment to get into the jar. It’s very inexpensive and has many other uses as well!

Dough whisk – to mix your starter and your bread dough.
I prefer to use a dough whisk to stir my starter after I’ve fed it and when I make a sourdough bread loaf. Previously, I used silicone spatulas, but I broke so many of them this way! It just wasn’t worth the money, and my Danish dough whisks look better in my utensil holder anyway. That’s a win-win in my book! There are a few different styles of dough whisks, which you can see in the photo above. I use both, and in my opinion, they work equally well.
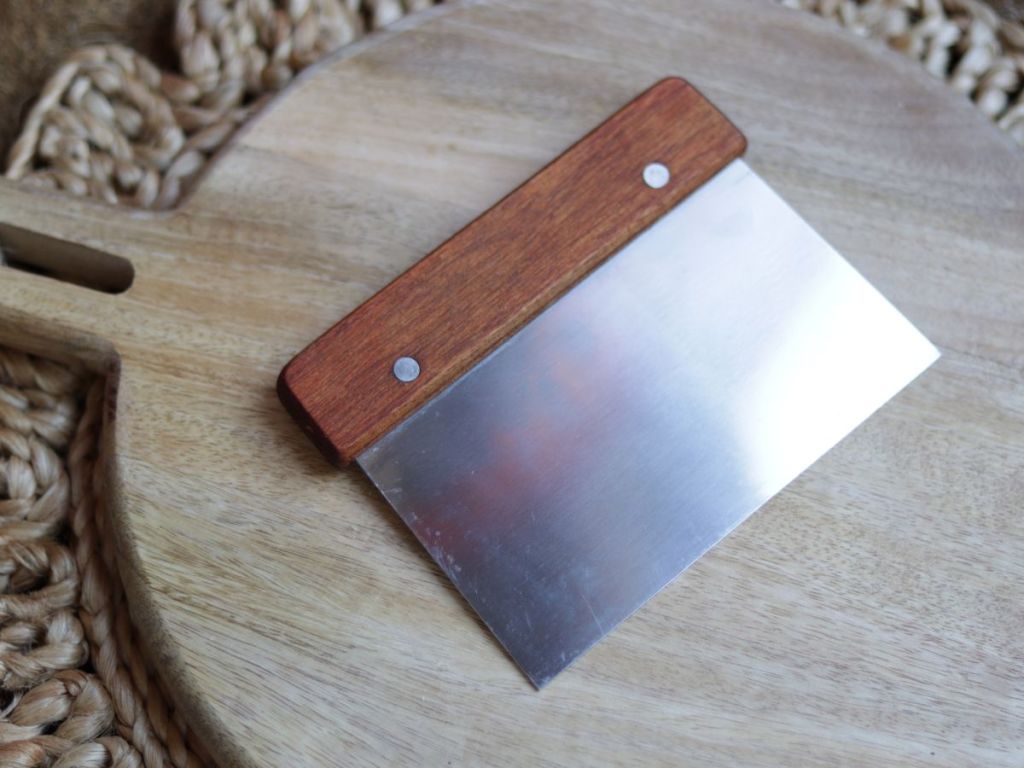
Bench scraper – to transfer your sourdough bread loaf to your banneton basket.
This is totally optional, and I went years without having one, so don’t feel like this is necessary by any means! It is a nice addition to any kitchen and comes in handy when cutting all sorts of dough or when moving your sourdough loaf around because it can be pretty sticky.
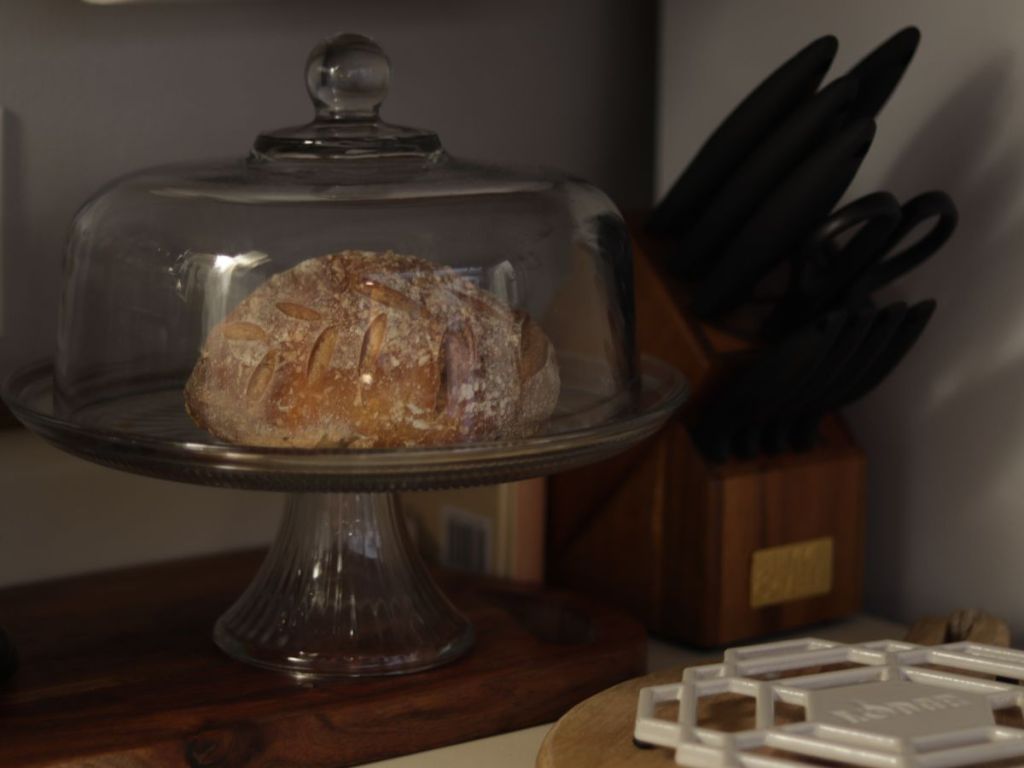
Cake stand or bread bag – to store your cooked bread in.
There are so many options out there for ways to store your sourdough bread loaves. There are bread bins, containers, and bags; you could even make your own bread bag! For now, I just use my glass cake stand because I’m a “use what you have if you can” kind of gal. Plus, my artisan sourdough bread doesn’t typically last very long in my house anyhow!

With these essential sourdough supplies, you’re well on your way to baking incredible homemade loaves. But remember, while tools help, practice, patience, and experience are just as important! Start with the basics and add to your supplies as you grow more comfortable with the process.
Get to know your sourdough starter, your kitchen environment, and how your dough performs in it. Timing for your loaves will change with the seasons as the temperature in your house changes, so keep that in mind. And happy baking friends! Be patient, have fun, and don’t forget to share your favorite tools and tips in the comments!
Ready to get baking?
Follow my easy Beginner Sourdough Bread recipe and start your journey to making delicious homemade bread today!